Before & After
Dental before and after: how do you build one that converts?
Gabriel Gimenez · Published on September 19, 2026
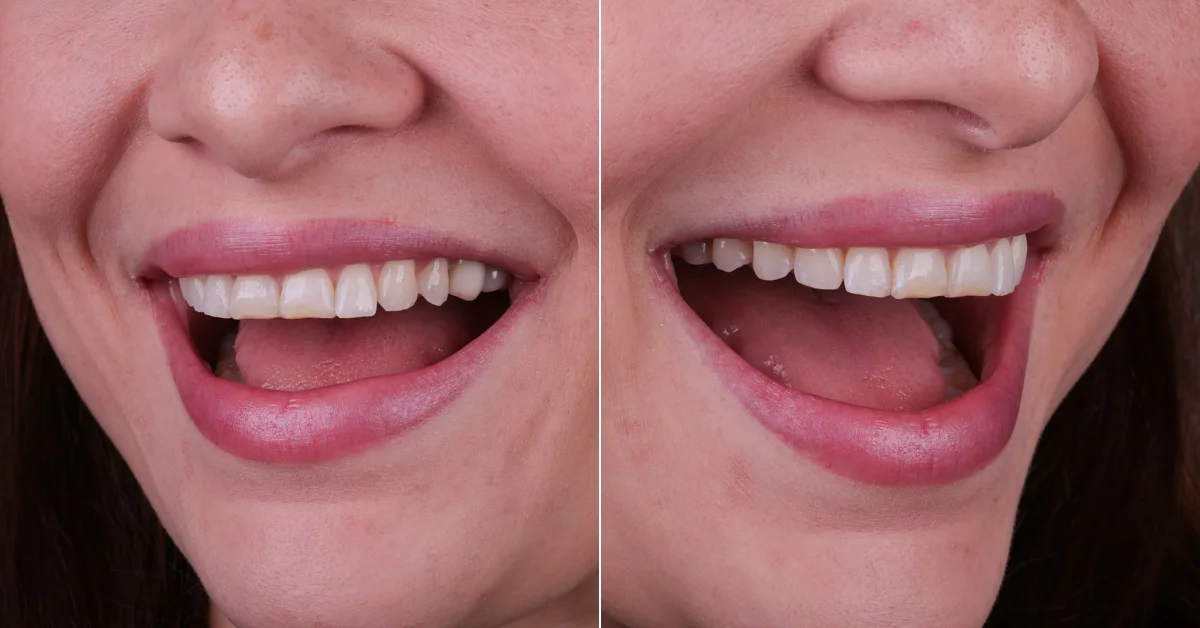
A dental before and after that converts has four elements: standardized photos between before and after, clean editing that showcases the case without gimmicks, a caption with clinical context in plain language and a clear call to action. If any of these four fails, the post becomes just another teeth photo in the feed.
In practice, the workflow is this: shoot the before and after with the same framing, background and lighting, edit the image discreetly, build the piece as a carousel or side by side layout and publish it with a caption that says what was done and why. At dentraw LAB this whole process, from raw photo to ready post, takes minutes, and you can start now with a free trial.
Why do most before and afters fail to convert?
I talk to dentists every week and the pattern repeats: excellent clinical cases posted with dark photos, a messy operatory in the background and different angles between the before and the after. The patient looks and cannot see the transformation, even though it is real.
When Carlos Herton and I started designing dentraw LAB, he showed me dozens of examples like that. The problem is almost never the dentist's technique; it is the presentation. A poorly presented before and after communicates carelessness, and the patient transfers that impression to the practice.
How do you shoot the before and after the right way?
Rule number one is standardization. If the before was shot at one angle and the after at another, the comparison loses its power, no matter how good the clinical result is.
The minimum checklist I recommend:
- Same framing in the before and the after: frontal smile, always at the same distance.
- Same lighting, preferably a ring light or diffused light, never direct flash.
- Neutral, clean background, with no operatory elements competing for attention.
- Retractors to move lips and cheeks aside when the focus is the dental detail.
- Shoot the before at the first appointment, even if the treatment is not closed yet.
I detailed this full process in the article about how to standardize before and after photos in dentistry.
What should editing do, and what should it never do?
The right editing removes distractions: shiny saliva, small stains, residual blood, uneven background. The wrong editing changes the clinical result, and that destroys your credibility when the patient compares the post with reality in your chair.
| Recommended editing | Editing to avoid |
|---|---|
| Remove saliva and residual blood | Whitening teeth beyond the real result |
| Fix exposure and contrast | Altering tooth shape or position |
| Standardize the background | Filters that change overall skin tone |
| Upscale for phone photos | Crops that hide the case context |
At dentraw LAB, AI enhancement handles exactly the left column: it removes saliva and blood, sharpens the image and upscales phone photos, without touching the clinical result. That matters because the patient who accepts treatment will check the post later.
How do you build the final piece the patient understands?
The edited photo is not the post yet. A lay patient needs structure to understand what they are looking at. The formats that convert the most:
- Side by side: before on the left, after on the right, with clear labels.
- Carousel: first slide with the striking after, then the case sequence.
- Transformation video: the transition from before to after in motion, the format that holds attention in the first seconds.
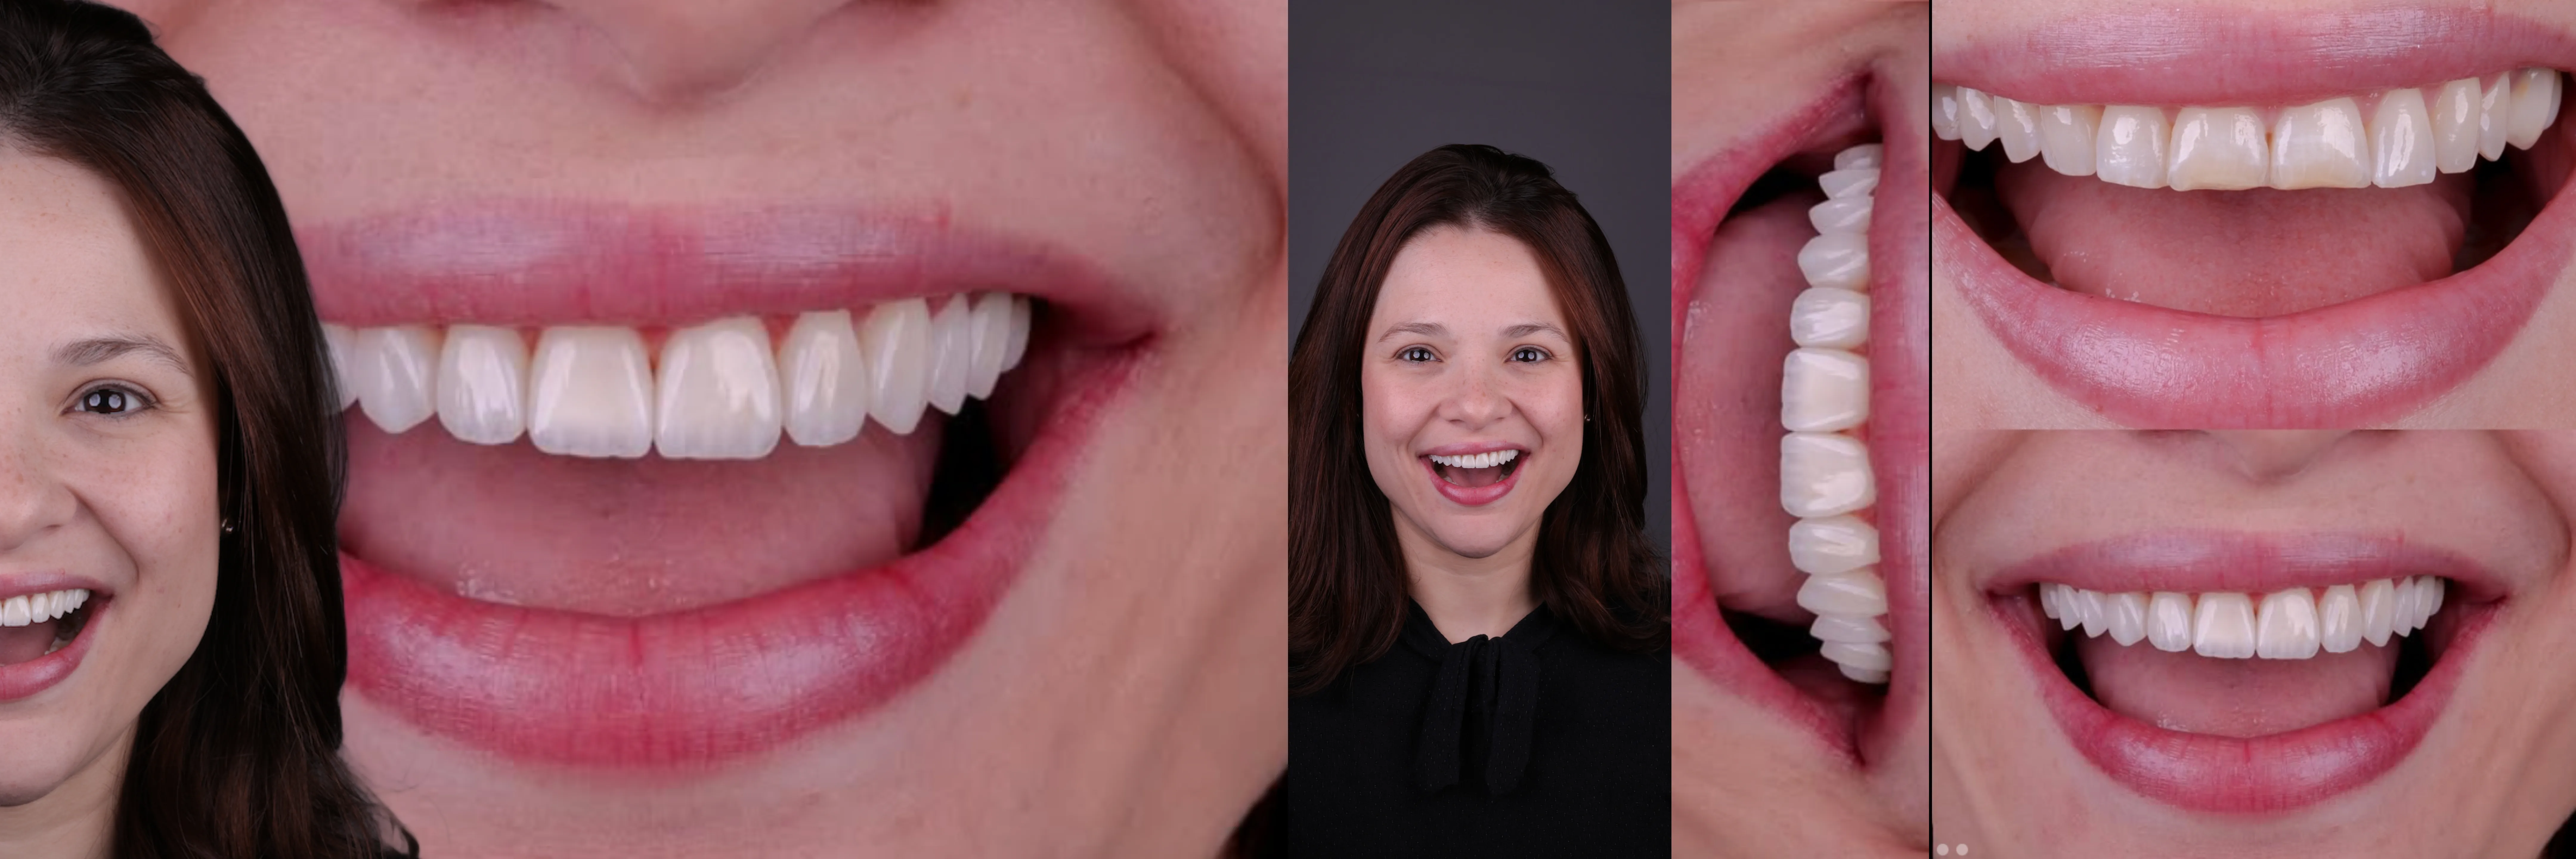
In dentraw LAB's Showcase you build these pieces from the case photos, and Live turns the transformation into video for Reels and TikTok. The caption should answer in one sentence what was done and in another who that case is for, always ending with a call to action, like the booking link in your bio.
What do the rules say about publishing before and afters?
This point is not optional. Dental advertising is regulated in most countries, and showing patient images usually requires written consent and compliance with professional ethics codes. Before posting any before and after, get the signed authorization and check the current rules with your local board or association, because regulations change and the responsibility is yours.
Where does AI simulation fit into this process?
The before and after shows what you have already done; the simulation shows what you can do for the patient sitting in front of you. With dentraw LAB's Preview, you generate a simulation of the patient's own smile in seconds and present it together with the treatment plan. In the testimonials we receive, dentists report closing patients in the first week by presenting the simulation alongside real before and after cases.
That combination, real proof plus personalized simulation, is what we have seen convert the most, both in the consultation and on Instagram, a topic I go deeper into in the article about how dentists should use Instagram in 2026.
If you want to build professional before and afters without losing hours editing, start your free trial of dentraw LAB now: upload the case photos and see the finished piece in minutes.
FAQ
How many photos does a dental before and after need? At least two: one before photo and one after photo with the same framing, lighting and background. Ideally a set of 4 to 6 photos including frontal smile, profile and detail shots, always standardized.
Can I use phone photos for the before and after? Yes. Today's phones deliver enough quality if you standardize lighting, distance and background. At dentraw LAB, AI enhancement and upscaling turn a phone photo into a professional-looking photo.
Is it allowed to post a patient's before and after on Instagram? It depends on your local regulations. Publishing patient images usually requires written consent and follows specific rules in professional ethics codes. Check the current rules in your jurisdiction before posting.
What makes a before and after convert more? Standardization between photos, discreet editing that showcases the case without exaggeration, a caption with simple clinical context and a clear call to action, such as a booking link in the bio.
Does AI simulation replace real before and after photos? It does not replace them, it complements them. The Preview simulation shows the patient how their own smile could look before deciding, and the real before and after proves your technical skill. Together they convert better than either one alone.
Related articles
Frequently asked questions
How many photos does a dental before and after need?
At least two: one before photo and one after photo with the same framing, lighting and background. Ideally a set of 4 to 6 photos including frontal smile, profile and detail shots, always standardized.
Can I use phone photos for the before and after?
Yes. Today's phones deliver enough quality if you standardize lighting, distance and background. At dentraw LAB, AI enhancement and upscaling turn a phone photo into a professional-looking photo.
Is it allowed to post a patient's before and after on Instagram?
It depends on your local regulations. Publishing patient images usually requires written consent and follows specific rules in professional ethics codes. Check the current rules in your jurisdiction before posting.
What makes a before and after convert more?
Standardization between photos, discreet editing that showcases the case without exaggeration, a caption with simple clinical context and a clear call to action, such as a booking link in the bio.
Does AI simulation replace real before and after photos?
It does not replace them, it complements them. The Preview simulation shows the patient how their own smile could look before deciding, and the real before and after proves your technical skill. Together they convert better than either one alone.