Dental Photography
How to standardize before and after photos in dentistry?
Gabriel Gimenez · Published on September 19, 2026
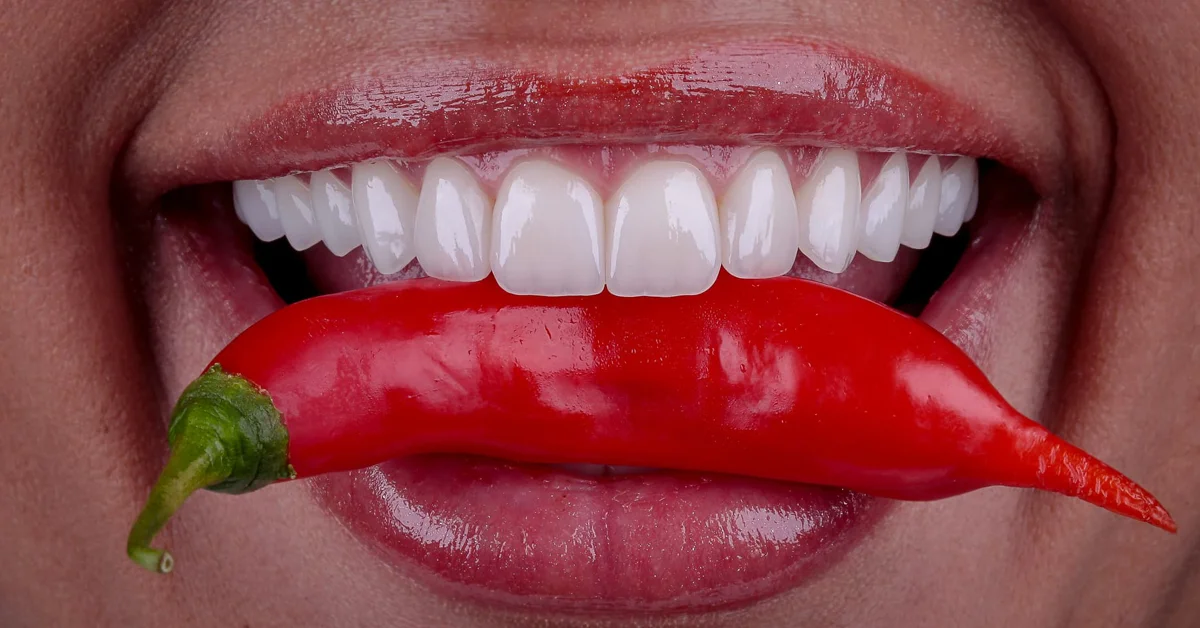
Standardizing before and after photos in dentistry means locking five variables: patient position, camera distance, angle, lighting and background. If those five stay the same in the before shot and the after shot, anyone looking at the comparison sees only the treatment, with no distractions.
The practical method is to create a physical marker in your office (tape on the floor, fixed chair height, the same light position every time) and a short checklist that you or your team follow on every capture. With that, two photos taken months apart look like they were shot on the same day.
Below I break down each variable, with the protocol Carlos Herton and I use to teach dentists how to shoot repeatably.
Why does standardization change how the case is perceived?
When the before photo is dark, crooked and shows a drooping lip, and the after photo is bright, straight and smiling, the patient's brain is not comparing teeth: it is comparing moods. It looks like an editing trick, even when the treatment was excellent.
At dentraw LAB we have seen this dozens of times: great cases that did not convert because the comparison was visually unfair. Once the dentist standardizes the capture, the same treatment starts selling itself, because the only difference between the photos is the smile.
Which variables need to stay locked?
| Variable | How to lock it in practice |
|---|---|
| Patient position | Same chair height, head supported, incisors on the same line |
| Distance | Floor marker where you stand, or optical zoom always at the same point |
| Angle | Camera at occlusal plane height, never from above or below |
| Lighting | One single light source, fixed white balance, no open window in the shot |
| Background | Neutral backdrop or the same office wall in both photos |
| Framing | Same crop: nose to chin, or full smile, always identical |
How do you build a repeatable capture protocol?
- Define the capture point: chair position, camera distance and height, and write it down or mark it with tape on the floor.
- Lock your phone or camera settings: manual focus, exposure and white balance, same lens every time.
- Shoot the before photos with the checklist in hand: position, retraction, occlusal, frontal, lateral.
- Keep the before photo as a visual reference: when shooting the after, open the image and reproduce the framing while looking at it.
- Review both photos side by side before dismissing the patient: if the framing diverges, reshoot on the spot.
I learned step 4 the hard way. Early on at dentraw LAB, a partner dentist sent us an excellent veneer case, but the after photo had been taken from a different angle with different light. The material was unusable for marketing. Since then, the first thing we teach is to open the before photo on screen when shooting the after.
Can a smartphone keep the standardization?
Yes, and in many offices it is the best option, because the phone is always within reach on the day of the after shot. The rules are: always use the same lens (preferably the 2x telephoto, which distorts less), lock focus and exposure with a long press on the screen, and turn off any automatic beauty mode.
I covered the full smartphone setup in the article How to take professional dental photos with your phone?.
How to edit without misrepresenting the case?
The golden rule: whatever you do to the after photo, do to the before photo. Crop, brightness and contrast can be adjusted, as long as they are identical. What you cannot do is digitally whiten teeth, remove stains or change the shape of the smile. Besides being unethical, it destroys your credibility when the patient compares the photo with the mirror.
At dentraw LAB, photo enhancement follows that logic: the tool corrects lighting, removes saliva and blood and improves sharpness, without altering the anatomy of the case. That way the photo becomes presentable without turning into misleading advertising.
FAQ
How many photos does a before and after case need? For marketing, two images are enough: the before and the after with the same framing. For a complete clinical record, follow your intraoral and extraoral photo protocol, always with fixed positions.
What lighting should I use to standardize dental photos? Always use the same light source: a dedicated flash, a ring light or the chair light with fixed white balance. What you cannot do is mix natural light in the before shot with flash in the after shot.
Do I need a professional camera to standardize? No. A recent smartphone works well as long as you lock exposure and focus, always use the same lens and keep distance and angle fixed. Standardization comes from the protocol, not the gear.
Can I edit the photos without breaking standardization? Yes, as long as the editing is identical on both photos: same crop, same brightness adjustment and no filter that changes tooth color or shape. The patient needs to see the real case.
Is it allowed to publish a patient's before and after photos? Only with the patient's written consent. Dental advertising rules vary by country and by licensing board, so check the current regulation in your jurisdiction before publishing.
Related articles
- How to take professional dental photos with your phone?
- Dental before and after: how to build one that converts?
- How should dentists use Instagram in 2026?
If you want your standardized photos to become ready-made treatment presentations, with automatic enhancement and smile simulation, start testing dentraw LAB for free now.
Frequently asked questions
How many photos does a before and after case need?
For marketing, two images are enough: the before and the after with the same framing. For a complete clinical record, follow your intraoral and extraoral photo protocol, always with fixed positions.
What lighting should I use to standardize dental photos?
Always use the same light source: a dedicated flash, a ring light or the chair light with fixed white balance. What you cannot do is mix natural light in the before shot with flash in the after shot.
Do I need a professional camera to standardize?
No. A recent smartphone works well as long as you lock exposure and focus, always use the same lens and keep distance and angle fixed. Standardization comes from the protocol, not the gear.
Can I edit the photos without breaking standardization?
Yes, as long as the editing is identical on both photos: same crop, same brightness adjustment and no filter that changes tooth color or shape. The patient needs to see the real case.
Is it allowed to publish a patient's before and after photos?
Only with the patient's written consent. Dental advertising rules vary by country and by licensing board, so check the current regulation in your jurisdiction before publishing.