Dental Photography
How to take professional dental photos with your phone?
Gabriel Gimenez · Published on September 19, 2026
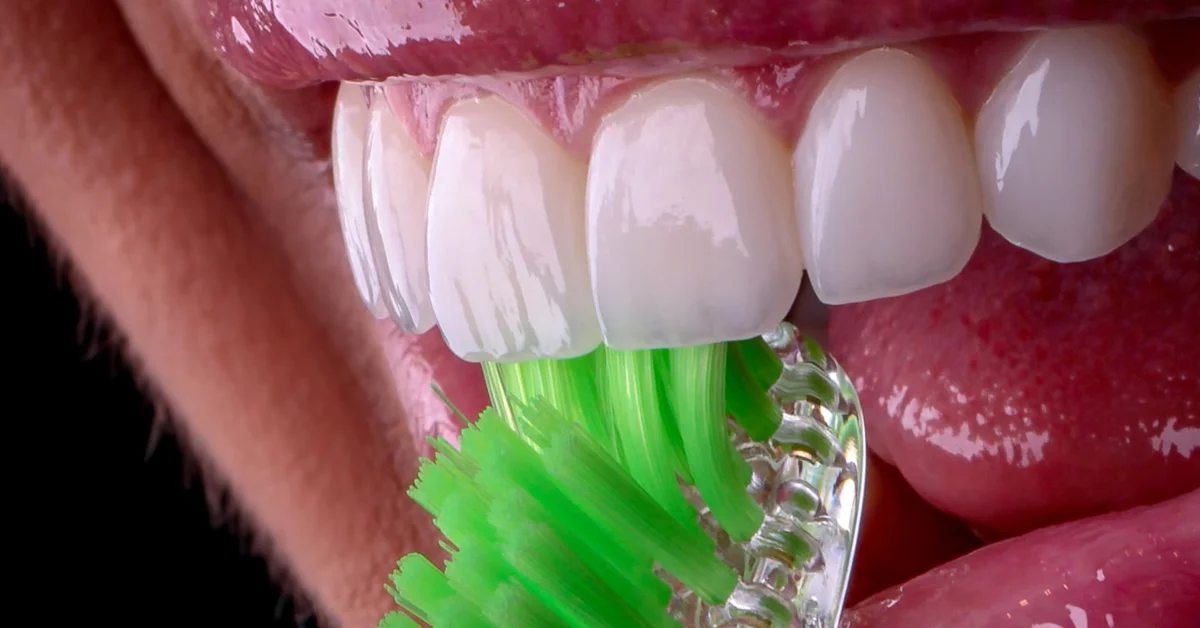
To take professional dental photos with your phone you need three things: even white light, a steady phone at the right distance, and a standardized background. The short answer is: shoot with indirect natural light or a white LED, move the phone closer instead of using digital zoom, lock focus on the teeth, and take several shots per angle. After that, a quick edit fixes whatever the capture missed.
It is not the phone that defines quality, it is the method. I see this every day at dentraw LAB: dentists upload photos taken with ordinary devices and, after AI enhancement, the result looks studio-grade. What ruins a photo is almost never the equipment. It is bad lighting, shiny saliva, and a crooked frame.
Below is the step-by-step I recommend for anyone seeing patients all day who has no time to become a photographer.
What are the ideal phone settings for dental photos?
Set up the device before you shoot. These 5 settings solve 80% of the problems:
- Turn on the camera grid to align the smile with the horizontal lines.
- Turn off auto flash and control the light yourself.
- Always use the main rear camera, never the front one.
- Tap the screen to lock focus and exposure on the teeth.
- Avoid digital zoom: physically move the phone closer until the frame is right.
If your phone has a macro mode, it is your best friend for intraoral shots. If it does not, portrait mode helps separate the smile from the background in extraoral photos.
How do you fix the lighting in the dental office?
The right light is what separates an amateur photo from a professional one. My rule is simple: white light, diffused, coming from the front or from a slight side angle.
| Light source | When to use it | Main caution |
|---|---|---|
| Indirect natural light (near a window) | Face and smile shots | Never direct sunlight on the patient |
| White LED or ring light | Any time of day, keeps things consistent | Position at 45 degrees, not against the face |
| Phone flash | Last resort | Diffuse the light so you do not blow out saliva |
| Operatory light | Emergency only | Yellowish light needs color correction later |
A classic mistake I see in photos sent to dentraw LAB: shooting the patient in the chair with the yellow operatory light on. The smile comes out orange and the whole tooth shade is compromised when you try to show a before and after. Turn off the operatory light or compensate with a white LED.
How do you frame extraoral and intraoral photos?
Framing is about standards, not creativity. In dental photography, the same angle today and 6 months from now is what makes treatment comparison possible.
For extraoral photos, follow these steps:
- Patient standing or sitting upright, against a plain neutral background.
- Phone at the patient's nose level, never shooting upward.
- Smile centered on the grid, with equal space above and below.
- Take 3 to 5 shots per angle: frontal, right profile, left profile, smile at 45 degrees.
For intraoral photos:
- Use cheek retractors and an intraoral mirror.
- Ask the patient to breathe through the mouth for a few seconds first: this reduces mirror fogging.
- Move the phone closer until the teeth fill the screen, with no digital zoom.
- Focus on the arch and shoot in bursts.
If the photos are meant for publication or marketing, check your local dental board's current rules on patient image use and get written consent.
How do you turn a phone photo into a studio-quality photo?
A good capture is half the work. The other half is finishing, and that is where most dentists lose hours editing. The lesson Carlos Herton and I built into dentraw LAB comes from his years teaching dental photography: a dentist does not need to become an image editor, they need a fast workflow.
At dentraw LAB, the workflow is this: you upload the phone photo, the AI removes saliva and blood, corrects the lighting, upscales the resolution, and standardizes the background. In seconds the image is ready for a before and after, a carousel, or a treatment presentation in Preview. More than 10,000 dentists access the platform every month, and photo enhancement is one of the most used features.
A definition I always repeat: a professional dental photo is the one that documents the case faithfully and presents the result clearly, not the one taken with the most expensive gear.
How much does it cost to finish photos with dentraw LAB?
You can start with a free trial and upload your first photos today. After that there are monthly, quarterly, and annual plans for regular use, plus individual credits for occasional edits. The logic is simple: subscription for routine use, credits for one-off needs. I broke down every price in the article How much does dentraw LAB cost?.
If you want to see your own phone photo turn into professional material in seconds, start your free trial now.
FAQ
Which phone is best for dental photography? Any smartphone from the last 3 to 4 years with a good camera works. What matters most is lighting, stability and framing, not the device model.
Do I need a ring light for dental photos? It helps, but it is not required. Indirect natural light or a well-positioned white LED already does the job. A ring light only standardizes lighting when you shoot at different times of day.
How do I photograph inside the mouth with a phone? Use an intraoral mirror, ask the patient to open wide, move the phone closer instead of using digital zoom, and shoot in portrait or macro mode if your device has it. Focus must be on the teeth, not the lip.
Can I use the phone flash for dental photos? You can, but carefully. Direct flash blows out saliva and creates glare on the enamel. If you use it, diffuse the light with a diffuser or parchment paper over the LED.
How do I make phone photos look professional without editing for hours? At dentraw LAB you upload the photo and the AI handles enhancement, upscaling, saliva and blood removal, and background standardization. You can start right now with a free trial.
Related articles
Frequently asked questions
Which phone is best for dental photography?
Any smartphone from the last 3 to 4 years with a good camera works. What matters most is lighting, stability and framing, not the device model.
Do I need a ring light for dental photos?
It helps, but it is not required. Indirect natural light or a well-positioned white LED already does the job. A ring light only standardizes lighting when you shoot at different times of day.
How do I photograph inside the mouth with a phone?
Use an intraoral mirror, ask the patient to open wide, move the phone closer instead of using digital zoom, and shoot in portrait or macro mode if your device has it. Focus must be on the teeth, not the lip.
Can I use the phone flash for dental photos?
You can, but carefully. Direct flash blows out saliva and creates glare on the enamel. If you use it, diffuse the light with a diffuser or parchment paper over the LED.
How do I make phone photos look professional without editing for hours?
At dentraw LAB you upload the photo and the AI handles enhancement, upscaling, saliva and blood removal, and background standardization. You can start right now with a free trial.