Before & After
How do you photograph the before and after of dental veneers?
Gabriel Gimenez · Published on September 19, 2026
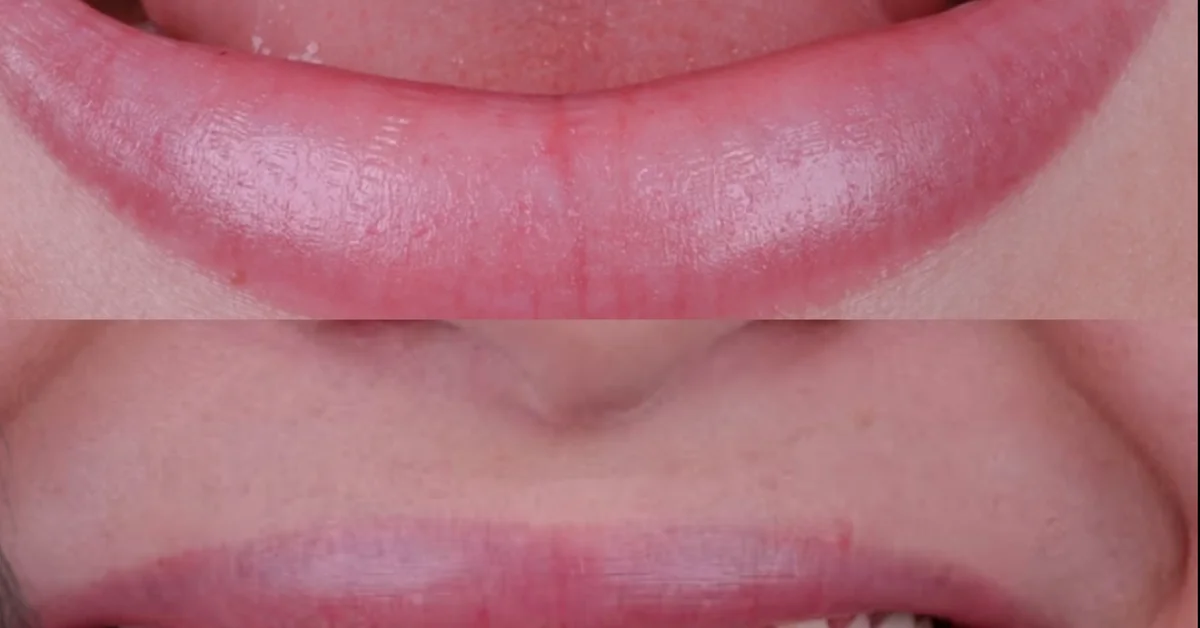
To photograph the before and after of dental veneers, there is one rule: the before and the after must look like the same photo, with different teeth. Same framing, same distance, same lighting, same background and same patient expression. If any of these change, the comparison loses credibility, and credibility is what sells the next case.
In practice, a lean protocol gets it done: 4 to 6 standardized shots per session, constant diffused light, a neutral background, and floor marks for where the patient stands and where the photographer stands. With a current smartphone and a ring light, you produce enough material for records, treatment presentations and social media.
Below I break down the step-by-step I see working in practices that use dentraw LAB, plus the mistakes that show up most often when a before-and-after comes in for enhancement and we realize the original photo was compromised from the start.
What is the step-by-step photo session protocol?
The protocol I recommend has 6 steps and takes under 10 minutes once the team is trained:
- Standardize the environment. Neutral background (plain wall or gray fabric), chair in the same position, same room. Mark the patient's and the photographer's positions on the floor with tape.
- Lock the lighting. Ring light or two soft side sources, always at the same height and intensity. No variable window light.
- Define the shots. Frontal smile, close-up smile (lips to teeth), right profile, left profile, and intraoral with retractors when the case needs clinical records.
- Capture the full before set. Take every shot before any procedure, including prep or impressions, with the patient groomed the same way they will be for the after.
- Write down the settings. Approximate distance, zoom or lens used, light height. A sheet taped to the wall with these details saves the after session.
- Repeat everything for the after. Same room, same floor marks, same shots, same light. Ideally at the same time of day.
Which mistakes hurt the comparison the most?
I see a lot of before-and-afters come into dentraw LAB for image enhancement, and the mistakes repeat themselves. Once a dentist sent me an excellent porcelain veneer case I could barely use: the before was shot at the front desk under warm yellow light, the after in the operatory under a cool ring light. The teeth looked more yellow in the after because of the light color, and the case was great. We had to correct the white balance in post, but the goal is to never need that.
| Mistake | Effect on the comparison | Fix |
|---|---|---|
| Different light between sessions | Tooth color shifts artificially | Lock one light source and always use it |
| Different angle or distance | The smile looks bigger or smaller | Floor marks for patient and photographer |
| Different expression | Serious before, big smile after | Ask for the same natural smile both times |
| Different background | The photo looks like another place | Same neutral background both sessions |
| Digital zoom on the phone | Loss of sharpness in the after | Move closer physically, never zoom |
| Direct flash | Blown-out shine on porcelain | Use constant diffused light |
Smartphone or professional camera: which one?
A current smartphone with good lighting covers most before-and-after needs for social media and treatment presentations. The real difference is not the device, it is standardization. A professional camera without a protocol produces worse comparisons than a phone with floor marks and fixed light.
If you already have a camera and dental photography lighting, even better, especially for clinical records and intraoral shots. But if budget is tight, invest first in a constant light source and a neutral background before thinking about upgrading the camera.
How do you standardize it for the whole team?
The protocol only works if anyone on the team can repeat the session without you. I suggest a one-page document posted in the photo area with: floor mark positions, light height and intensity, the shot list in order, and a printed example of each framing.
Team standardization solves two problems at once: the after session comes out identical even when you are not there, and the practice's photo library stays consistent for carousels and portfolios. We have a full article on this standardization process, linked in the related articles at the bottom of this page.
What should you do with the photos after the session?
Raw session files rarely go straight to Instagram. The workflow I see working best is: pick the best shot of each angle, correct light and sharpness, build the side-by-side comparison, and adapt formats for each channel (feed, stories, highlight covers).
At dentraw LAB, that processing is done with AI: clinical photo enhancement, carousel building and transformation videos from the case photos. What AI does not do, and should not do, is alter the clinical result. It is also worth separating two things: the Preview smile simulation is for presenting the plan before the patient commits, the real after photo is what proves the work. Mixing the two in your feed is where many practices lose credibility.
On publishing: before posting any patient photo, have a specific image use consent on file. Rules vary and change, so check the current regulations that apply in your state or country.
FAQ
Can I shoot veneer before-and-afters with a smartphone? Yes. A current smartphone with good lighting covers most cases. What must not change between the two shoots is framing, distance and lighting, not the device itself.
Do I need patient consent to publish the photos? Yes. To use clinical photos on social media and marketing materials, you should have a specific signed image release from the patient. Check your state board or local regulations before publishing.
What is the best lighting for photographing dental veneers? Constant, diffused light, such as a ring light or two soft side sources. Avoid direct flash, which blows out the porcelain's shine, and mixed window-plus-lamp light, which shifts color between sessions.
How many photos should I take per session? A lean protocol has 4 to 6 shots: full-face frontal smile, close-up smile, right and left profile, and intraoral with retractors if the case calls for it. Repeat the exact same shots for the after session.
Can an AI-edited photo be used as a before and after? Quality edits, like light and sharpness adjustments, are common practice. What you should never do is alter the clinical result in the image. Smile simulations, like the ones from Preview, are for presenting the treatment plan, not for replacing the real case photo.
If you want to turn your next case's photos into a before-and-after carousel and video without spending hours editing, start your free 3-day trial now.
Related articles
Frequently asked questions
Can I shoot veneer before-and-afters with a smartphone?
Yes. A current smartphone with good lighting covers most cases. What must not change between the two shoots is framing, distance and lighting, not the device itself.
Do I need patient consent to publish the photos?
Yes. To use clinical photos on social media and marketing materials, you should have a specific signed image release from the patient. Check your state board or local regulations before publishing.
What is the best lighting for photographing dental veneers?
Constant, diffused light, such as a ring light or two soft side sources. Avoid direct flash, which blows out the porcelain's shine, and mixed window-plus-lamp light, which shifts color between sessions.
How many photos should I take per session?
A lean protocol has 4 to 6 shots: full-face frontal smile, close-up smile, right and left profile, and intraoral with retractors if the case calls for it. Repeat the exact same shots for the after session.
Can an AI-edited photo be used as a before and after?
Quality edits, like light and sharpness adjustments, are common practice. What you should never do is alter the clinical result in the image. Smile simulations, like the ones from Preview, are for presenting the treatment plan, not for replacing the real case photo.