Dental Photography
Which photos does a dental office need to document a case?
Gabriel Gimenez · Published on September 19, 2026
The basic protocol for documenting a dental case has 8 photos: 4 extraoral (frontal at rest, frontal smiling, profile and 45-degree oblique) and 4 intraoral (frontal with cheek retractors, right lateral, left lateral and upper and lower occlusals taken with a mirror). That set covers planning, lab communication and before-and-after records.
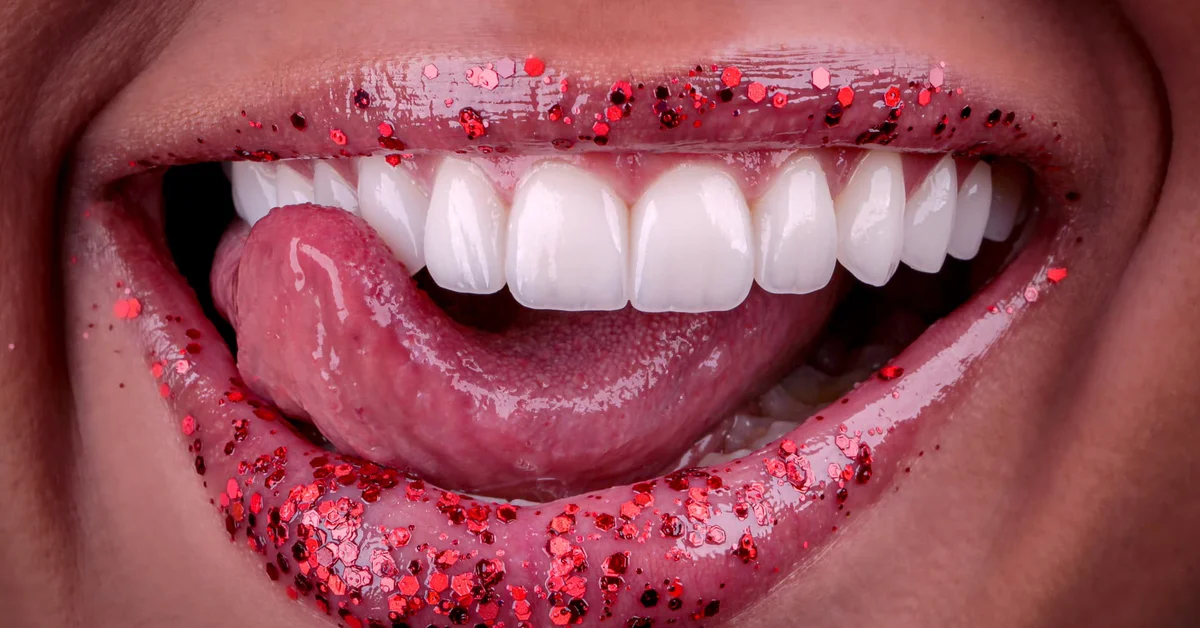
In aesthetic cases, like veneers and dental contact lenses, I recommend adding 2 or 3 detail shots: a close-up smile, surface texture and one photo with a shade guide next to the tooth. That is the material the lab technician uses to nail the characterization, and what you use later to show the result.
Below I break down each photo, what it is for and the mistakes I see most often when dentists send me cases on dentraw LAB.
What are the 4 extraoral photos?
Extraoral photos record the face as the frame of reference for the smile. They are:
- Frontal at rest: face straight on, lips relaxed, head in natural position. It shows incisor display at rest, an essential data point for planning length.
- Frontal smiling: same framing, with a wide natural smile. This is the photo that defines smile line, buccal corridor and visible tooth proportion.
- Profile: side view of the face, used to assess convexity, lip support and incisor position.
- 45-degree oblique: three-quarter view of the face, both sides when possible. It reveals volume and projection that the frontal view hides.
The most common mistake here is changing the distance and camera height between before and after. If the before photo was taken 20 inches from the face and the after at 12, the comparison gets distorted and the case loses its punch.
What are the 4 intraoral photos?
Intraoral photos document what is inside the mouth, and they require cheek retractors and, for occlusals, an intraoral mirror:
- Frontal with retractors: teeth in occlusion, centered on the midline. This is the reference photo for shade, shape and alignment.
- Right lateral: shows the occlusal relationship and the posterior segment on the right side.
- Left lateral: same, on the left side.
- Upper and lower occlusals: taken with a mirror, they show the full arches, palate and occlusal surfaces.
A short definition I use when explaining it to a team: an intraoral photo without a retractor is not documentation, it is a selfie. The retractor is what turns the image into a clinical record, because it exposes the gingival margin, the vestibule and the posterior thirds.
What changes in aesthetic cases like veneers?
In aesthetic rehabilitations the basic protocol still holds, but it gains additions:
| Complementary photo | What it is for |
|---|---|
| Close-up smile | Assess texture, translucency and smile line in detail |
| Macro of a single tooth | Record surface texture and characterizations |
| Photo with shade guide | Give the lab an objective shade reference |
| Short video of the smile | Capture the smile in motion, which a still photo misses |
At dentraw LAB I see the difference in practice: when a dentist uploads a case with the full protocol, the simulation in Preview comes out far more faithful, because the AI has face, smile and tooth references at the same time. A case with a single tight frontal photo produces a generic simulation, and the patient presentation loses impact.
How do I make fewer mistakes documenting cases?
I learned it the hard way. Early on at dentraw LAB, Carlos and I were testing the platform with real cases from dentists close to us, and one of them sent a veneer before-and-after with photos that were great individually, but with completely different lighting between the two stages. The result looked great in the mouth, but in photos it looked like a badly done whitening. We had to ask him to reshoot the after photos, and the case was delayed a week.
Since then I repeat three rules to every dentist who asks me:
- Set a fixed spot in the office for photos, always the same one.
- Save a standard distance and lighting setup on the phone or camera.
- Shoot the after photo while looking at the before photo on screen, to replicate framing and expression.
What is each photo for in the office workflow?
Documentation is not bureaucracy: each photo has a practical job.
| Stage | Photos used |
|---|---|
| Planning | All 8, plus details in aesthetic cases |
| Lab communication | Frontal smiling, intraoral frontal, shade guide, macro |
| Patient presentation | Frontal smiling and oblique, alongside the simulation |
| Legal record and chart | Full protocol, dated |
| Marketing and portfolio | Standardized before-and-after, with written patient authorization |
On the legal side: internal use in the patient chart is usually covered by the treatment agreement, but publishing patient photos on social media requires specific written authorization. Rules vary by dental board and by country, so check the current regulation before posting.
FAQ
How many photos are needed to document a dental case? The basic protocol uses 8 photos: 4 extraoral (frontal at rest, frontal smiling, profile and oblique) and 4 intraoral (frontal, right lateral, left lateral and upper and lower occlusals). Aesthetic cases may call for additional detail shots.
Can I document a case with just my phone? Yes. With good lighting, cheek retractors and a neutral background, a phone delivers photos good enough for planning, lab communication and before-and-after records.
Do I need patient consent to use the photos? Yes. Internal clinical use is usually covered by the treatment agreement, but posting on social media or in a portfolio requires specific written authorization. Check the current rules of your dental board or association.
Which photo matters most for the lab? The frontal smile with lips in a natural position and the intraoral frontal with retractors are the ones the technician uses most, because they show smile line, proportion and shade reference.
Do before-and-after photos need to follow a standard? Yes. Same distance, same lighting, same background and same angle. Without standardization, the comparison loses clinical and commercial value.
With the 8-photo protocol in hand, the next step is turning that material into a presentation: on dentraw LAB you upload the photos, generate the smile simulation in Preview and show the projected result before quoting the patient. Start now with a free 3-day trial and see pricing in the article about how much dentraw LAB costs.
Related articles
Frequently asked questions
How many photos are needed to document a dental case?
The basic protocol uses 8 photos: 4 extraoral (frontal at rest, frontal smiling, profile and oblique) and 4 intraoral (frontal, right lateral, left lateral and upper and lower occlusals). Aesthetic cases may call for additional detail shots.
Can I document a case with just my phone?
Yes. With good lighting, cheek retractors and a neutral background, a phone delivers photos good enough for planning, lab communication and before-and-after records.
Do I need patient consent to use the photos?
Yes. Internal clinical use is usually covered by the treatment agreement, but posting on social media or in a portfolio requires specific written authorization. Check the current rules of your dental board or association.
Which photo matters most for the lab?
The frontal smile with lips in a natural position and the intraoral frontal with retractors are the ones the technician uses most, because they show smile line, proportion and shade reference.
Do before-and-after photos need to follow a standard?
Yes. Same distance, same lighting, same background and same angle. Without standardization, the comparison loses clinical and commercial value.